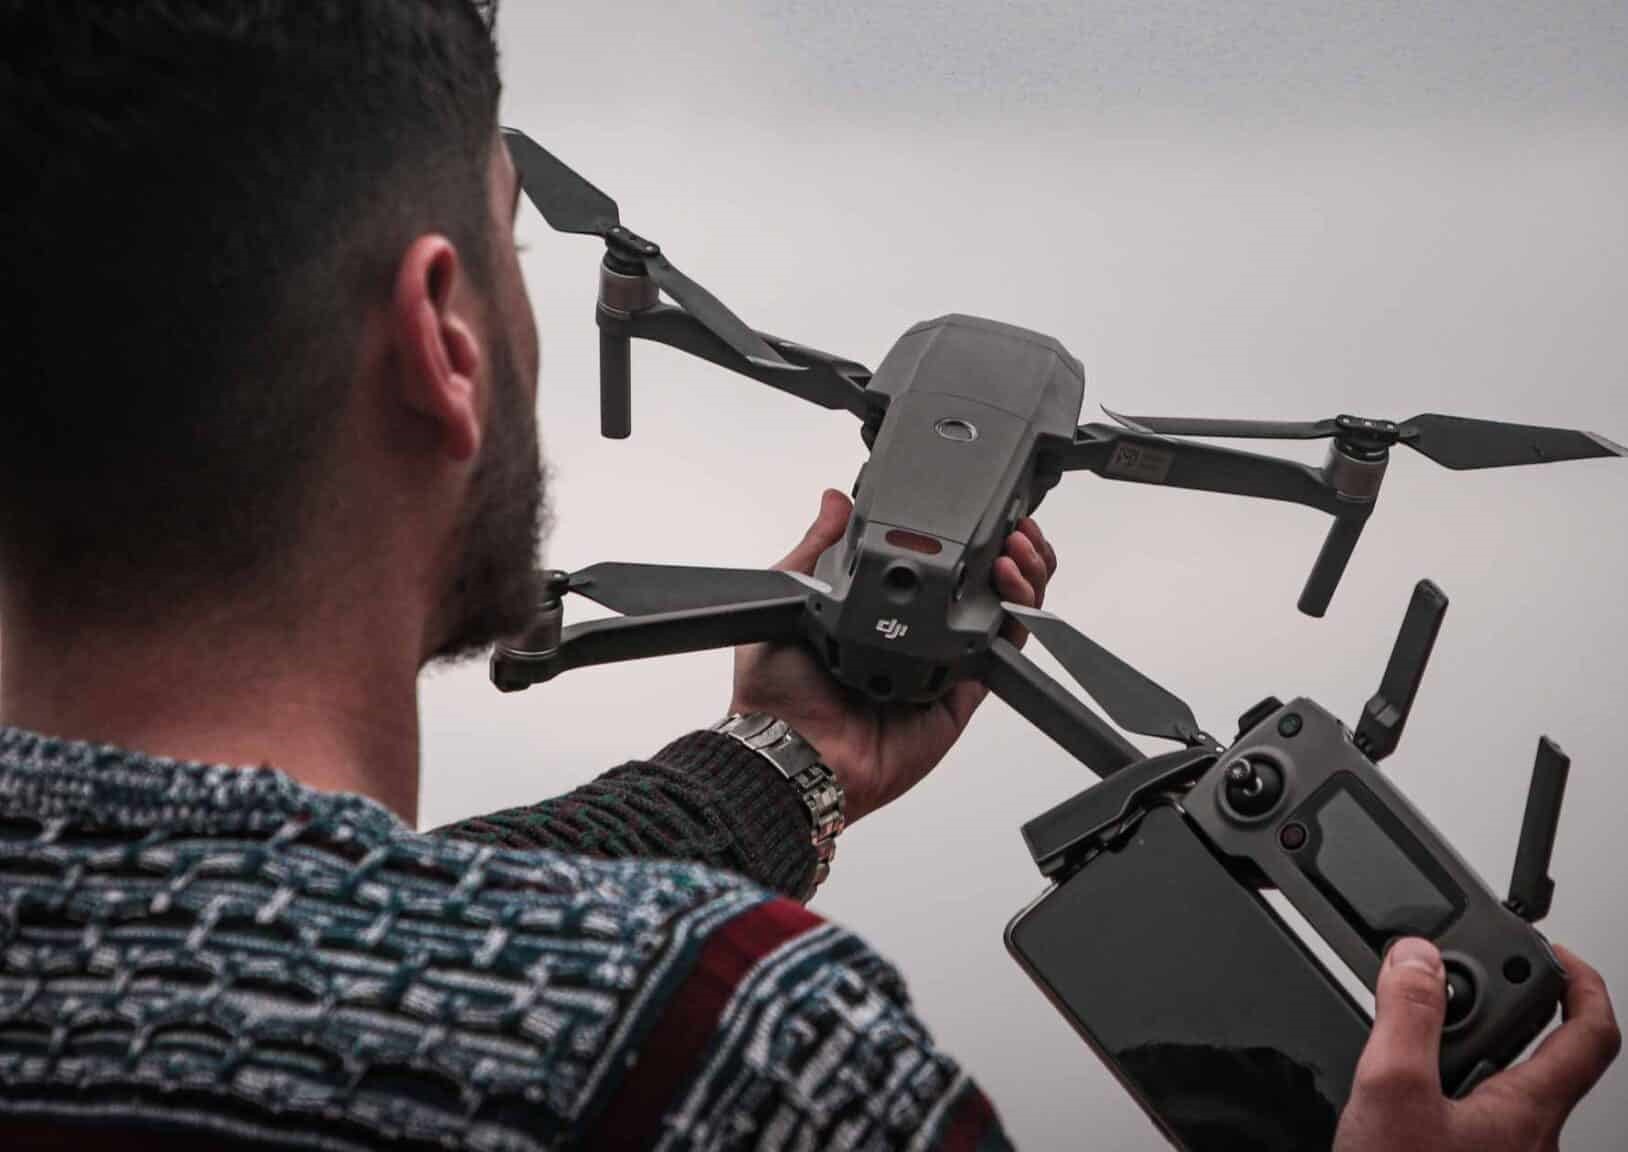
Creating a professional drone video is not just about flying a drone. It’s about planning, lighting, camera settings, and smooth movements that deliver cinematic results. Whether you’re shooting for real estate, tourism, events, or your business, this simple guide will show you exactly how to capture high-quality aerial footage.
1. Plan Your Drone Shoot Before Flying
Every professional drone video starts with good planning.
Before you take off, decide:
The location you want to film
The purpose of the video (real estate, promo, landscape, etc.)
The best time of day, usually early morning or late afternoon for soft lighting
The flight path and the shots you want to capture
Planning saves time, helps you avoid mistakes, and makes the final video look more professional.
2. Check Weather, Lighting, and Safety
Weather is the most important factor in drone filming. Always check:
Wind speed
Visibility
Rain or fog
Sun position
Good lighting can completely change the quality of your video. The “golden hour” gives you warm, cinematic colors. Also make sure the area is safe and legal for drone flights.
3. Use the Right Camera Settings
To get a clean, beautiful drone video, adjust your settings manually:
4K resolution for maximum detail
24 or 30 FPS for a natural cinematic look
Low ISO to avoid noise
Shutter speed about double your frame rate
ND filters to control brightness
Manual settings give you consistent footage that is easy to edit later.
4. Fly Smoothly and Slowly
Professional drone videos look stable and fluid. Avoid fast movements. Instead:
Fly slow and steady
Use gentle turns
Combine forward movement with upward or sideways motion
Keep your altitude changes smooth
These movements give your video a cinematic feel and make it more visually pleasing.
5. Capture a Variety of Shots
To make your final video more dynamic, record different shot types:
Reveal shot (fly upward or sideways to reveal a scene)
Orbit shot (circle around a subject)
Top-down shot (straight from above)
Tracking shot (follow a moving object)
This variety helps you create a professional, engaging story in editing.
6. Edit Your Drone Footage Professionally
After filming, use editing software to complete your video:
Cut the best clips
Add smooth transitions
Color correct and color grade
Add background music
Stabilize shaky shots if needed
Editing is where your drone footage becomes a final, polished video.
Conclusion
Professional drone videos require planning, the right settings, smooth flying, and creative editing. By following these steps, you can capture stunning aerial footage that stands out and helps your business attract more clients. Whether you’re filming real estate, landscapes, or promotional content, mastering these techniques will take your drone videos to the next level.